Using the Certify Utilities Interface Tool
With the Certify Utilities Interface tool, you can do the following tasks:
- Test actions before you execute a Certify process
- Discover UI Interface Automation (UIA) values for Active Window actions
Accessing the Certify Utilities Interface Tool
From the Certify menu, select Configure > Interfaces > Utilities to open the Certify Utilities Interface tool.
The Certify Utilities Interface tool opens.
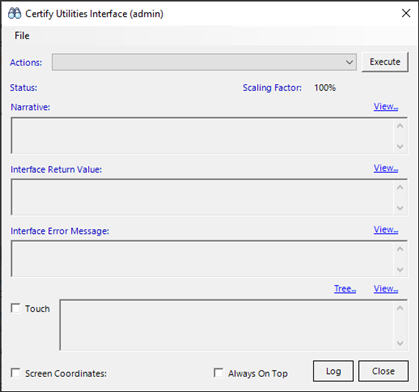
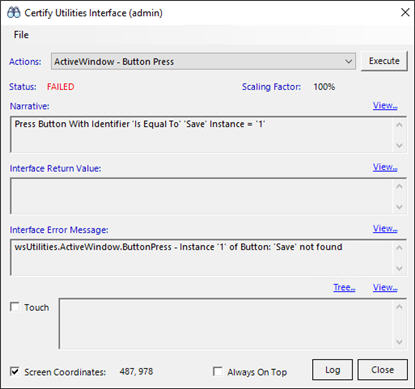
To test an action:
- From the Certify Utilities Interface tool, select an action that you want to test from the Actions drop-down list.
-
Click Execute.
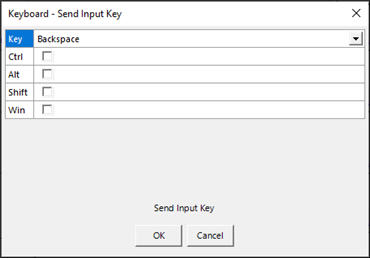
The action's parameter dialog opens. The parameter dialog is unique for each action.
-
Select parameters and enter values for each parameter.
-
Click OK.
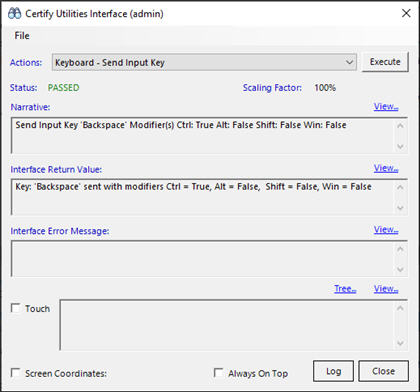
The action is executed as if it were in a Certify process. The status appears with the narrative and returns values. If the execution fails, a message appears in the Interface Error Message field.
-
To view screen coordinates, select the Screen Coordinates option.
-
To keep the Utilities Interface tool on top, select the Always on Top option.
-
To view the log file, click Log.
-
To close the tool, click Close.
To discover UIA values for Active Window actions:
-
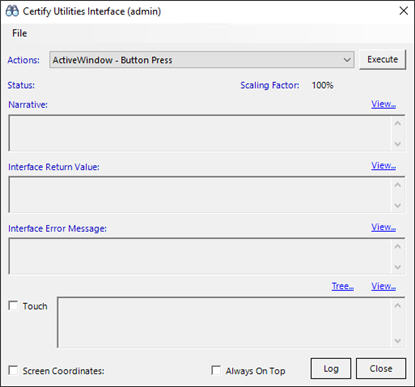
From the Certify Utilities Interface tool, select an Active Window action from the Actions drop-down list.
-
Click Execute.
The action's parameter dialog opens. The parameter dialog is unique for each action.

-
Select parameters and enter values for each parameter.
-
Click OK.
The action is executed as if it were in a Certify process. The status appears with the narrative and returns values. If the execution fails, a message appears in the Interface Error Message field.
-
Click Close when you have completed testing.