Managing Scripts with the Certify Utilities Interface Tool
With the Certify Utilities Interface tool, only Certify administrators can create, import, modify, test, export, and delete user scripts. This topic will show you how to do the following tasks with the Certify Utilities Interface tool:
- Create a new script.
- Import a script.
- Test a script.
- Export a script.
Worksoft provides two example scripts that can be imported from the following directory:
C:\Program Files (x86)\Worksoft\Certify\Interface Client\Worksoft\wsTest\Utilities
Supported Code Tokens
Listed below are supported Certify code tokens:
- GetArgument(0-4) = Get one or more of the five parameters passed.
- SetReturnValue() = Set the interface return value.
- Quit(1) = Set the step status for FAIL.
-
Quit(0) = Set the step status for PASS.
If the step status is PASS, the SetReturnValue() will be setting the interface return value or interface error message.
Accessing the Certify Utilities Interface Tool
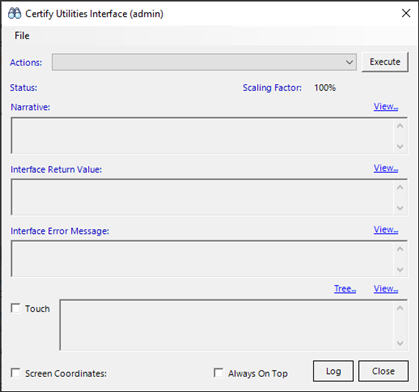
Open the Certify Utilities Interface tool from Certify by selecting Configure > Interfaces > Utilities from the menu.
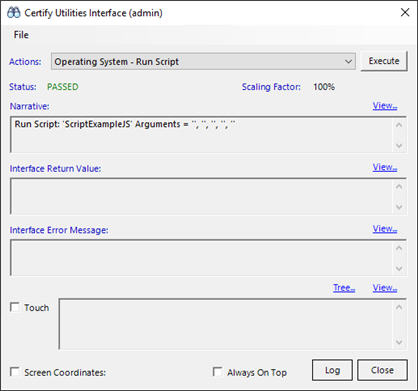
The Certify Utilities Interface tool opens.
To create a new script:
- Open the Certify Utilities Interface tool.
-
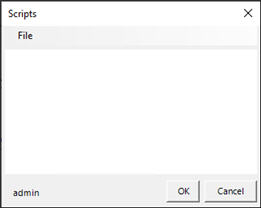
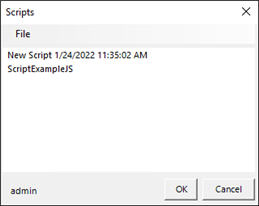
From the File menu, select Manage Scripts.
The Scripts dialog opens.
-
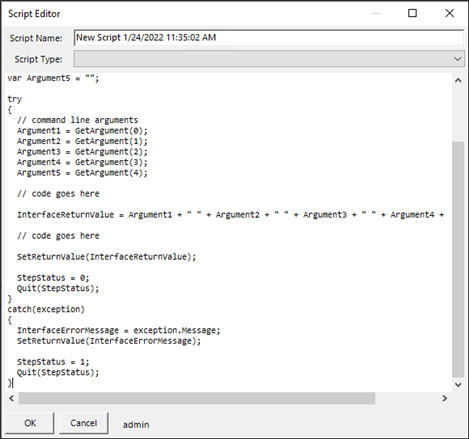
From the File menu, select New.
The Script Editor opens.

-
In the Script Name field, enter a name for your new script.
- From the Script Type drop-down list, select one of the following types:
- jscript
- vbscript
-
Right-click in the Editor and select Paste to paste your new script.
-
If needed, use the right-click menu to do the following tasks:
- Change the reading order.
- Show Unicode control characters.
- Insert a Unicode control character.
- Open an Input Method Editor (IME)
-
Click OK.
You are now ready to test the script.
To import a script:
- Open the Certify Utilities Interface tool.
-
From the File menu, select Manage Scripts.
The Scripts dialog opens.
-
From the File menu, select Import.
The Import Script File dialog opens.
-
Browse to the directory where the script you want to import is located.
-
Click Open.
The Script Editor opens.

-
In the Script Name field, enter a name for your new script.
- From the Script Type drop-down list, select one of the following types:
- jscript
- vbscript
-
If needed, use the right-click menu to do the following tasks:
- Edit the script.
- Change the reading order.
- Show Unicode control characters.
- Insert a Unicode control character.
- Open an Input Method Editor (IME)
-
Click OK.
To test a script:
- Open the Certify Utilities Interface tool.
- From the Actions drop-down list, select the Operating System - Run Script action.
-
Click Execute.
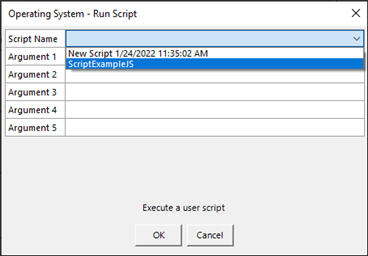
The action's parameter dialog opens. The parameter dialog is unique for each action.
-
From the Script Name drop-down list, select a script.
-
If needed, enter values into the Argument fields.
-
Click OK.
The script is executed, and the status appears with the narrative. If the execution fails, a message appears in the Interface Error Message field.
-
Click Close.
To export a script:
- Open the Certify Utilities Interface tool.
-
From the File menu, select Manage Scripts.
The Scripts dialog opens.
-
Right-click on the script you want to export and select Export.
The Export Script File dialog opens.
- Browse to the directory where you want to save the script.
- Click Save to export the script.
- Click OK to close the Scripts dialog.
- Click Close to close the Certify Utilities Interface tool.