Example: Reviewing Process Statuses with Certify Results API
This example shows you how to use the Certify Results API to review the number of Certify processes that are complete or in development.
Prerequisites
-
Update processes with the appropriate development status in the Certify Process Editor.

- Generate a token in Certify Results API. For more information, see Generating a Token in Certify Results API.
- If Microsoft® Excel® is going to be used to access data from Certify Results API, install the Microsoft Power Query plug-in. For more information, see https://support.microsoft.com/en-us/office/introduction-to-microsoft-power-query-for-excel-6e92e2f4-2079-4e1f-bad5-89f6269cd605 and https://www.microsoft.com/en-us/download/details.aspx?id=39379&CorrelationId=0a1fb29a-5281-4097-b3e6-431367168cc1.
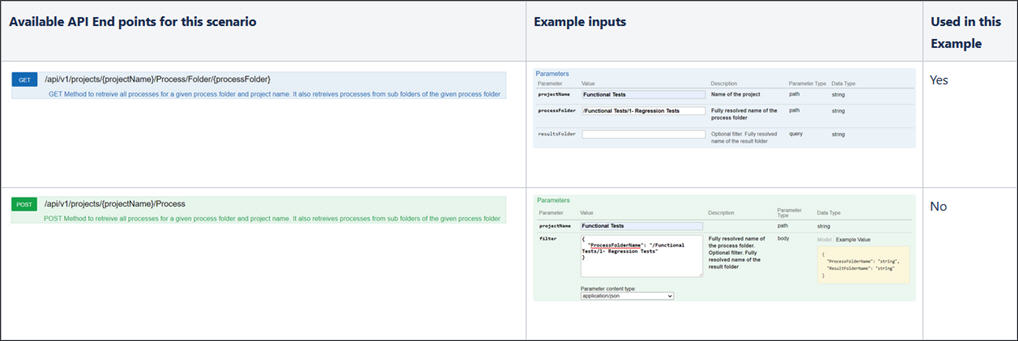
API Endpoints
Microsoft Excel Example
-
Open the Certify Results API Swagger page:
http(s)://yourdomain/CertifyResultsAPI/swagger/ui/index
-
Generate a token. For more information, see Generating a Token in Certify Results API.
-
Add the API token to Swagger.

-
Enter the required inputs to the GET /api/v1/projects/{projectName}/Process/Folder/{processFolder} endpoint as described in the above API Endpoints section.
-
Click the Try it out! button.
-
Copy the URL that was generated in the Request URL section.
Example:
https://certifydemo/CertifyResultsAPI/api/v1/projects/Functional%20Tests/Process/Folder/%2FFunctional%20Tests%2F1-%20Regression%20Tests
-
Open Microsoft Excel.
-
Click the Data tab.
-
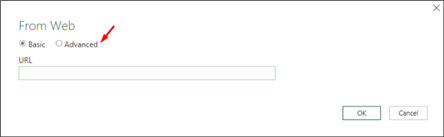
From the Data tab, click the From Web button.
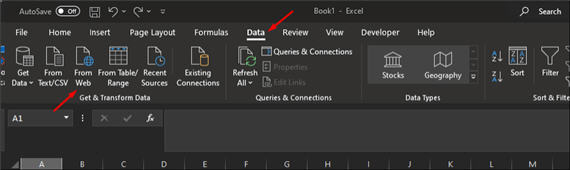
The From Web dialog opens.
-
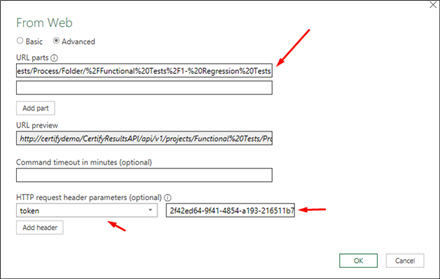
Select the Advanced option.
-
In the URL parts field, paste the resultsAPIResultsFolderUrl value.
-
From the HTTP request header parameters (optional) field, enter token.
-
In the second field, paste the resultsAPIToken value.
-
Click OK.
-
From the Query window in Microsoft Excel, edit the query name to Process Development Status.

-
Click the To Table button to expand the data.

The To Table dialog opens.

-
Click OK.
-
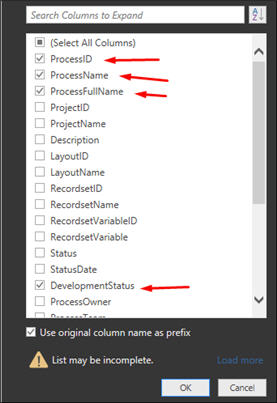
In the Queries window, click the Expand button on the right corner of the first column.

- Select the following columns:
- ProcessID
- ProcessName
- ProcessFullName
- DevelopmentStatus
- CreatedByUser
- ModifiedByUser
- (Optional) Expand the UserName column and select the two following columns:
- CreatedByUser
- ModifiedByUser

-
Click the Close & Load button.
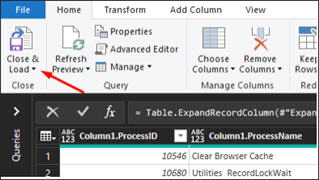
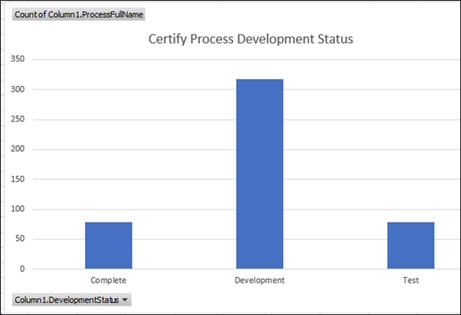
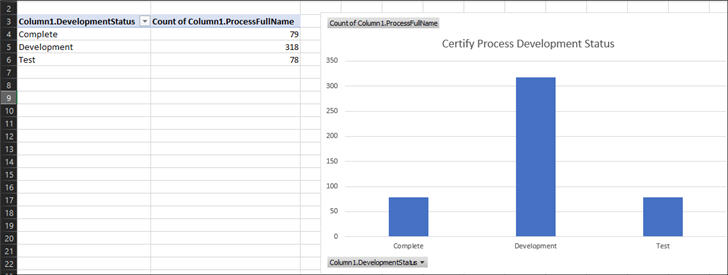
A new sheet with the tabular data is populated.

The data can be used to create pivot tables and charts using Excel.
-
Save the file.
-
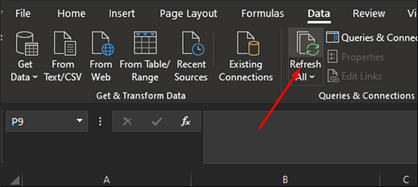
In the Data tab, click the Refresh All button to pull live data.