Accessing Certify Results API from Microsoft Power BI or Microsoft Excel
You can access Certify Results API from Microsoft® Power BI® or Microsoft Excel®.
To use Certify Results API from Microsoft PowerShell:
-
Open Certify Results API Swagger page:
http(s)://yourdomain/CertifyResultsAPI/swagger/ui/index
-
Generate a token. For more information, see Generating a Token in Certify Results API.
-
Add the API token to Swagger.

-
Enter the required inputs to the end point that you intend to use in the Microsoft Power BI or Microsoft Excel Results Folders. Microsoft Excel end point is shown below.

-
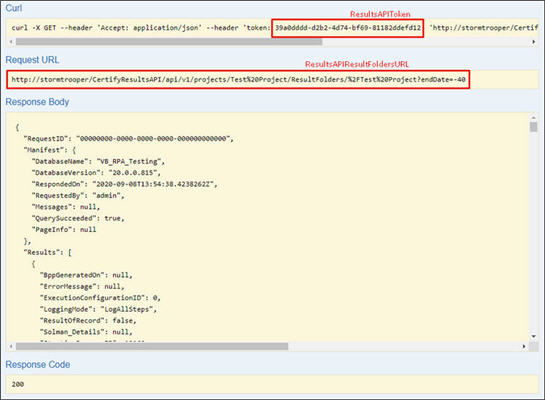
Click the Try it out! button.
-
Verify that the response code is 200.
- From Swagger, copy the following information:
- resultsAPIToken
-
resultsAPIResultsFolderUrl
-
Open Microsoft Power BI or Microsoft Excel in a browser.
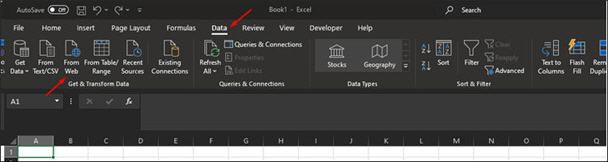
Microsoft Excel: Click Data and From Web.
Microsoft Power BI: Click Get Data and select Web.
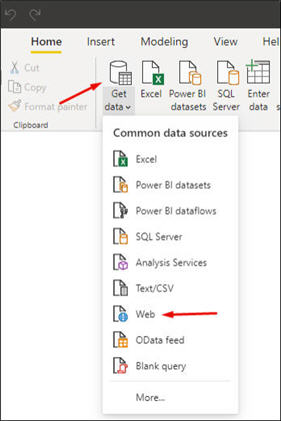
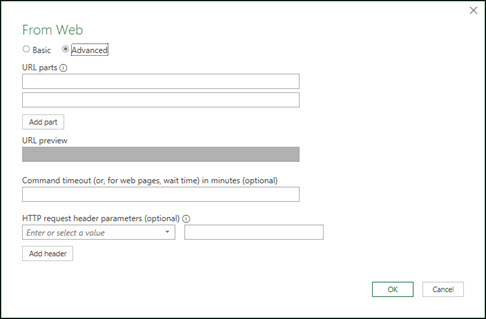
The Web dialog opens.
-
Select the Advanced option.
-
In the URL parts field, paste the resultsAPIResultsFolderUrl value.
-
From the HTTP request header parameters (optional) field, enter token.
-
In the second field, paste the resultsAPIToken value.
-
Click OK.
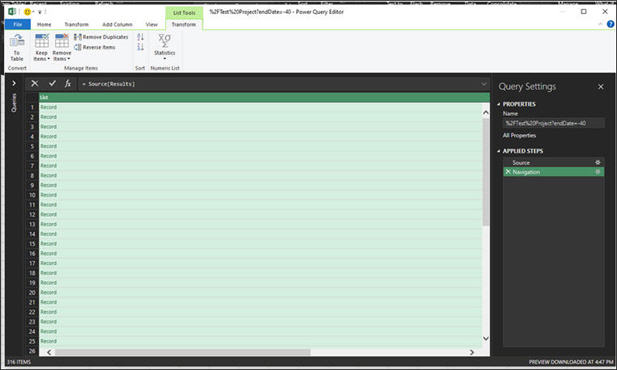
The Power Query Editor window opens.

-
Under Results, click List Tools.
-
Click the Transform tab.
-
Click theTo Table button to expand the collection into a table.
The To Table dialog opens.

-
Click OK.
-
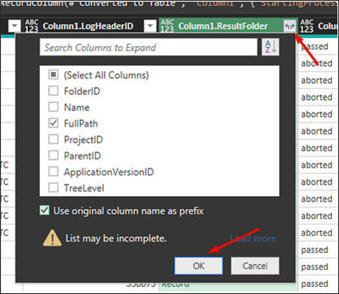
In the Column1 header, click the Expand button.

-
Select the columns that you want to see in the report.
-
Click OK.
-
Click the Expand button in other columns until all of the required columns are selected.
-
Click OK.
-
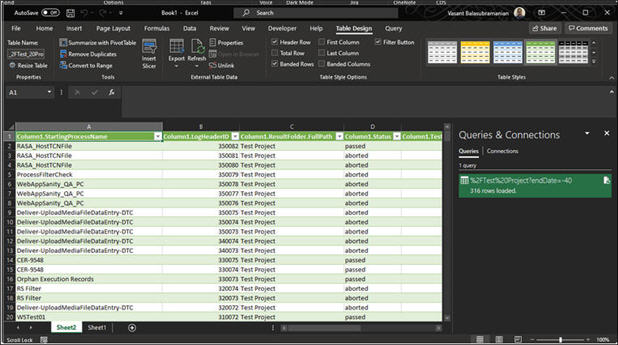
After all of the required columns are selected, click Close & Load.

The Power Query Editor closes.
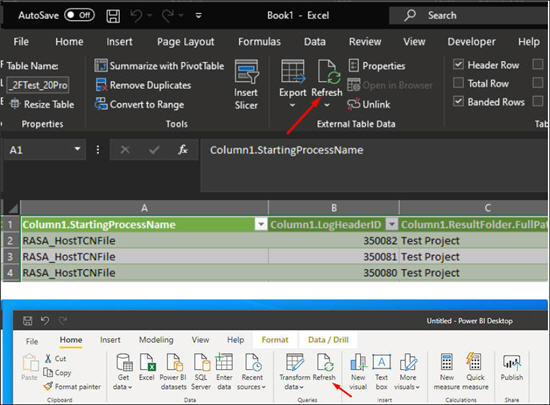
In Microsoft Excel, the data is populated on a new sheet.
In Microsoft Power BI, the selected columns appear in the Fields section, and they can be included into any visualization.
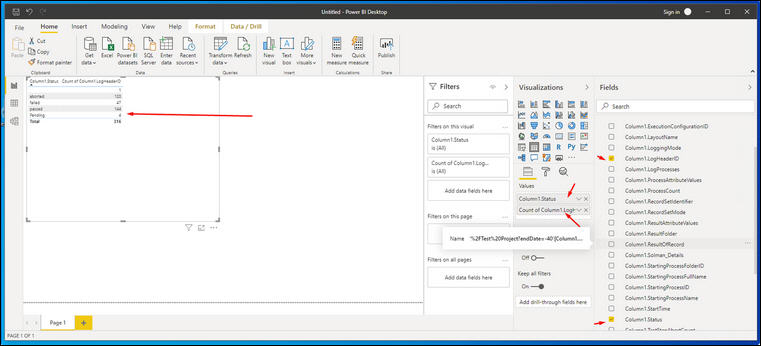
-
Click Refresh to pull the live data.