Creating a New RPA Project
After the administrator creates Orchestrator Agent machines and digital workers, you can create projects to automate repeated tasks and complex processes.
The administrator sets permissions to a project and assigns access to users and groups. Only users and groups with read or write permissions can open a project. With each step in the process workflow, the project administrator assigns roles to different users, and the same person can be associated with more than one step.
To create a project and assign roles:
-
From the Worksoft RPA Orchestrator menu, select Project List.
The RPA Project List page opens.

-
Click Create New RPA Project.
The Create RPA Project page opens.
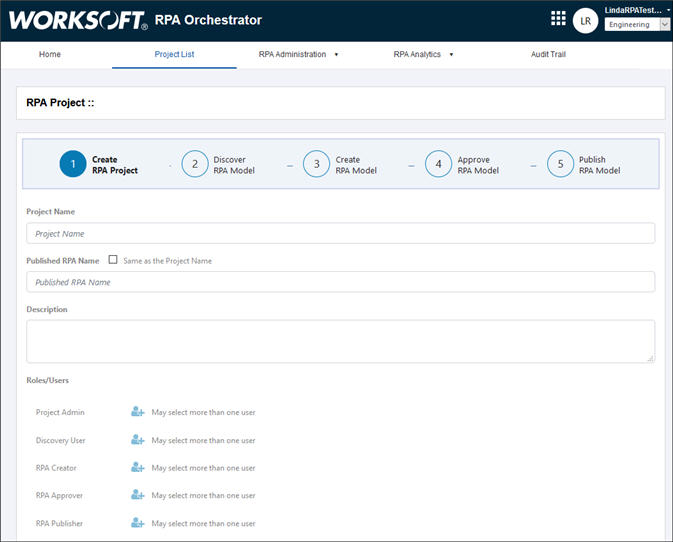
- In the Project Name field, enter a unique name for your project.
- In the Published RPA Name field, enter a name or select Same as the Project Name.
- (Optional) In the Description field, enter a project description.
-
In the Roles/Users section, click the Add User
 button next to the Project Admin role.
The Project Admin creates the project and assigns roles.
The Assign Users dialog opens.

- Click the Plus
 sign next to the user you want to assign for this first role. If needed, use the Search feature.
 -
Click Close.
The user assigned to the Project Admin role appears next to the role. If you want to reassign the role, you can delete the user and select a new user.
-
Repeat this process for each of these roles:
Role
Description
Discovery User
The user uploads one Capture file from Worksoft Business Capture.
Extra documents can be added to help describe the process and how the task is accomplished. The following formats are supported:
- Microsoft Excel®
- Microsoft® Word
- Images
RPA Creator
The user creates the robotic process in Worksoft Certify based on the Captured file and RPA assets.
The RPA Creator logs into Worksoft Certify to create or verify a project with the RPA Project option enabled. Then, they import the Capture file into Certify to make the process. After completing and testing the process, they export it to Worksoft RPA Orchestrator.
RPA Approver
The Approver gives the business approval.
This role is often separate from the process creation and deployment for audit control.
RPA Publisher
The Publisher reviews production deployments and resolves issues.
After the RPA project has been published, the project becomes read-only.
Users can be assigned to more than one role, and you can select more than one user for each role.
-
In the Production Email Notification section, enter the users' email addresses into a status you want them to receive. Use commas between the addresses if you have multiple recipients.
-
Click Send Notification to send notification to the users assigned to their roles.
The Confirmation dialog opens.
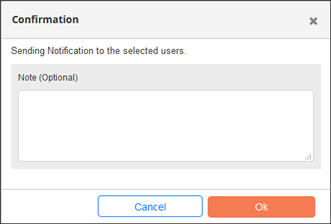
- (Optional) In the Note field, enter a note.
-
Click OK.

The Discovery user is alerted that action is required. For more information, see Discovering RPA Model.
After the Discovery user completes their task, the Status column updates to the next step, and the next assigned user is alerted.