Importing XF Definitions and Configurations Files
After you download the XF definitions folder, you need to import these files directly into the Certify database. Use the Certify Web Interface Options tool to import XF definitions and configurations files.
To import XF definitions files into Certify:
-
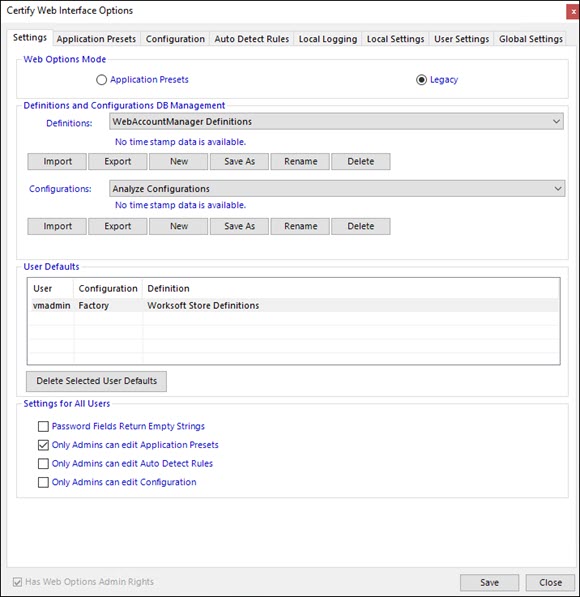
From the Certify menu, select Configure > Web > Options.
The Certify Web Interface Options tool opens.
-
From the Settings tab, select the definitions you want to import from the Definitions drop-down list.
-
In the Definitions section, click Import.
The Import Definitions dialog opens.
-
Browse and select your XML file with XF definitions and click Open.
The Import Definitions dialog opens.
- If you want to change the name of the XF definitions file, enter a new name in the field.
-
Click OK.
A message opens stating that the XF definitions file has been added to the Certify database.
- Click OK.
- From the Definitions drop-down list, select the file name.
To import XF configurations files into Certify:
-
From the Certify menu, select Configure > Web > Options.
The Certify Web Interface Options tool opens.
-
From the Settings tab, select the configurations you want to import from the Configurations drop-down list.
-
In the Configurations section, click Import.
The Import Configurations dialog opens.
-
Browse and select your XML file with XF configurations and click Open.
The Import Configurations dialog opens.
-
If you want to change the name of the XF configurations file, enter a new name in the field.
-
Click OK.
A message opens stating that the XF configurations file has been added to the Certify database.
-
Click OK.
-
From the Configurations drop-down list, select the file name.
The Certify default configuration file is Factory.
-
Click Save.