Importing Capture Files From Process Intelligence
From Certify, you can import Capture files from Process Intelligence and create process automation.
To import Capture files from Process Intelligence:
-
In the Certify Navigation pane, click the Processes button.
The Processes window opens.
-
Right-click in the Processes Summary pane and select Import New Process > From Process Intelligence.
The Import Capture page opens.

-
In the Worksoft Portal URL field, enter the URL address for the Portal.
https://<portalservername>/Portal
Example: https://servername.worksoft.com/Portal
-
In the respective fields, enter your Worksoft Portal user name and password.
-
Click Log in.
The Connect with Process Intelligence page opens.
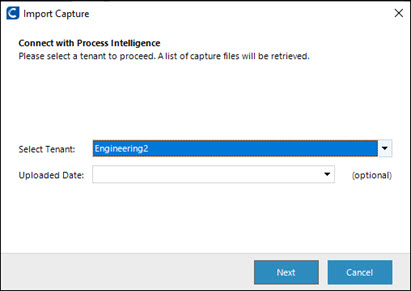
- From the Select Tenant drop-down list, select your tenant.
- (Optional) From the Uploaded Date drop-down list, select a date range to filter Capture files:
- Last 7 Days
- Last 30 Days
- Last 6 Months
- Custom Date Range
If you choose Custom Date Range, select from and to dates.
If a date range is not selected, all Capture files are returned.
-
Click Next.
The Select Capture File page opens.

- Select a Capture file from the Captures list.
-
Click Next.
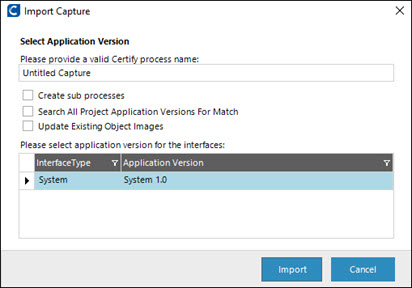
The Select Application Version page opens.
-
In the Certify process name field, enter a process name.
The field is already populated with the Capture name.
-
If needed, select one or more of the following options:
Option
Description
Create sub processes
Create sub-processes from named activities in the Capture you are importing.
Search All Project Application Versions For Match
Match the Capture's imported objects with existing objects in all of the application versions of the project.
Only objects of the same type can be matched.
Update Existing Object Images
Overwrite existing objects.
- In the Application Version grid, select an application version for the interfaces.
-
Click Import.
A message appears stating that the Capture has successfully imported.
-
Click OK.
The new process appears in the Processes Summary pane.