Enabling Worksoft Certify Auto Update
If you have Worksoft Certify Services installed, administrators can upgrade all Certify clients by using Worksoft Certify Auto Update.
While installing Certify Services, Worksoft Certify Auto Update Window service is automatically installed. Before you can configure the updates, you must enable this service with the Certify Configuration tool.
To enable Worksoft Certify Auto Update:
- From the Certify menu, select Configure > Certify > Database and Licensing.
The Certify Configuration tool opens.
-
To enable the Worksoft Certify Auto Update service, select the Enabled option in the Auto Update section.
-
Enter the URL address for the web server that is hosting Worksoft Certify Services with /worksoftupdates in the address.
Example: https://servername/worksoftupdates
-
Click Validate Auto Update API to test the connection.
- Click OK.
To configure Worksoft Certify Auto Update:
-
Open Worksoft Certify Auto Update on your Certify Services server with the following URL address:
http://<servername>/worksoftupdates
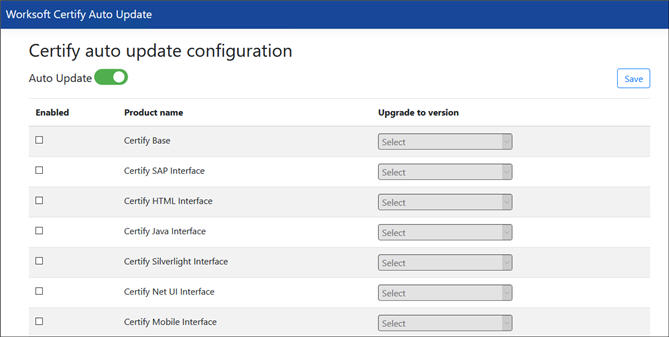
Worksoft Certify Auto Update opens.
-
To enable Certify Auto Update, select the Auto Update option.
After you enable Auto Update, a list of products appear. The list includes the Certify Base, Certify Inline Capture, and all interfaces.
- In the Enabled column, select the products you want to update.
- In the Upgrade to version column, select which version of each product you want to install.
-
Select Save.
When Certify clients start, Certify inspects the system to see if any product needs to be updated. If any updates are needed, a dialog opens showing which products will be updated.
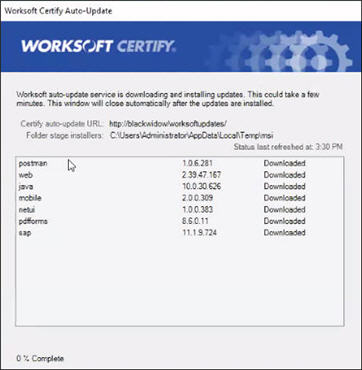
After all the products are updated, the Certify login opens.