Creating Templates for Your Documents
You can create templates that will be used when documentation is generated from Captures within the Captures List in Worksoft Analyze. When you create a template, all users within a tenant will be able to utilize the template.
To create a template for your documents:
-
Sign into Worksoft Analyze with the following URL address:
https://<servername>/Analyze
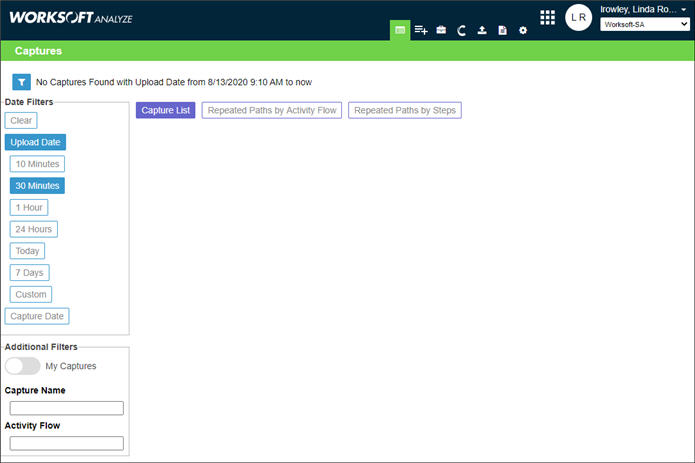
The Captures screen opens. When you first open the Captures screen, the Capture Date 30 Minutes filter is applied, and Captures from the last 30 minutes are displayed.
-
In the right-hand corner, click the Templates
 button.
The Templates screen appears.

- In the Select a logo image box, click the Browse button to browse to the logo file that you want to use for the document.
-
If you want to add a header to your document, type in a header in the Header text field.
This header appears on the top of each document page.
-
If you want to add a footer to your document, type in a footer in one or more of the Footer text fields.
The footer appears at the bottom of each document page with the page number.
- In the Name text field, type in the name for the template.
-
Click Save.
After you click Save, the template name appears in the Available Templates list.
-
If you want to make this template your default, click the Make Default button. When you select to generate documentation for a Capture, the default template is automatically selected.
A check mark icon appears next to your default template.
If you chose to select the template as a default, the Make Default button changes to Clear Default. Click the Clear Default button to remove the default selection.
When no default is set, the user can select to use a template or not to use a template.
- If you want to create a new template based on the current one, click the Save As button.
-
Click the Captures
 button to return to the Captures screen.
The template now appears in the Select Template drop-down list.

To edit a template:
-
Open the Captures screen.

-
In the right-hand corner, click the Templates
button.The Templates screen appears.
- From the Available Templates list, select the template you want to edit.
- Apply your changes to the template.
- After you have completed your edits, click the Save button.
To delete a template:
To delete a template from the Templates screen, select a template in the Available Templates list and click the Delete button. The template is no longer available to users in the tenant.