Synchronizing Data Between Certify and Zephyr in the Integration Gateway
In the Integration Gateway, you can synchronize data between Worksoft Certify and Zephyr with the Worksoft Scheduler.
Before you can schedule data synchronization, verify that the user has the appropriate permissions to the Certify project being used with Zephyr.
To synchronize data between Certify and Zephyr:
-
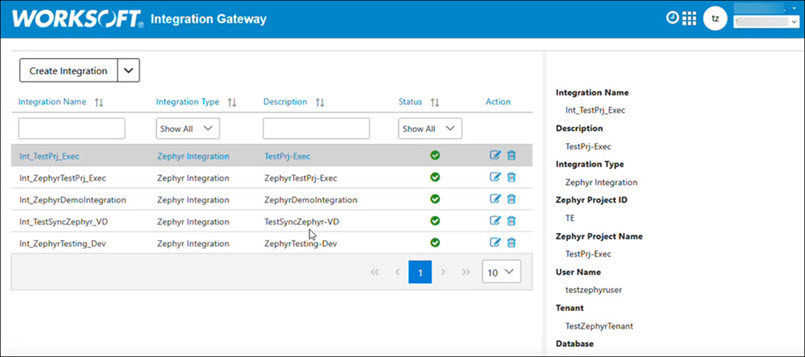
Sign in to the Integration Gateway.
The Integration Gateway opens.
-
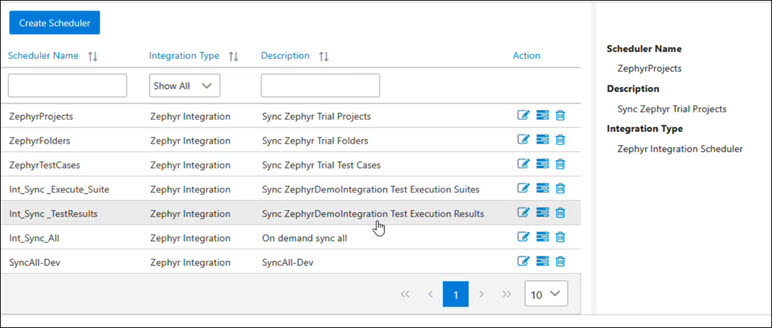
Click the Scheduler
 button in the top right of the page.
The Integration Gateway Scheduler opens.
-
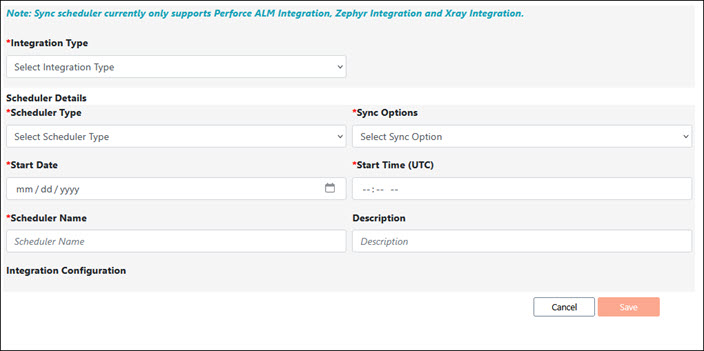
Click the Create Scheduler button.
The Create Scheduler page opens.
-
From the Integration Type drop-down list, select Zephyr Integration.
- From the Scheduler Type drop-down list, select one of the following:
- On Demand
- One Time
-
Recurring
- From the Sync drop-down list, select one of the following:
- Sync All
- Sync Projects
- Sync Folders and Test Cases
-
Sync and Execute Test Suite
-
Upload Test Results
-
In the Start Date field, click the Date
 icon and select a date to synchronize the data.
 -
In the Start Time (UTC) field, enter the specific UTC time for synchronization.
- If you selected Recurring as your Scheduler Type, select a value from the Occurrence drop-down list:
- Minutes
- Hourly
- Daily
- Weekly
- Monthly
- If you selected Recurring as your Scheduler Type, select a value from the Occurring On drop-down list.
-
In the Scheduler Name field, enter a unique name.
You can create several Scheduler configurations. If you have more than one configuration, they appear at the bottom of the screen.
- (Optional) In the Description field, enter a description for the Scheduler.
- Click Save.
If you selected On Demand, go to Step 11.