Configuring Jira in the Integration Gateway
Worksoft supports the integration with Atlassian Jira. Before proceeding with the configuration, verify that you have the appropriate permissions.
Accessing the Worksoft Integration Gateway
Listed below is the URL address for the Worksoft Integration Gateway:
https://<portalservername>Integration
Example: https://servername.worksoft.com/Integration
If you have any questions about your specific URL address, ask your IT administrator.
To configure Jira:
-
Open the Worksoft Integration Gateway.
The Integration Gateway page opens.
-
From the Create Integration drop-down list, select Jira Integration.
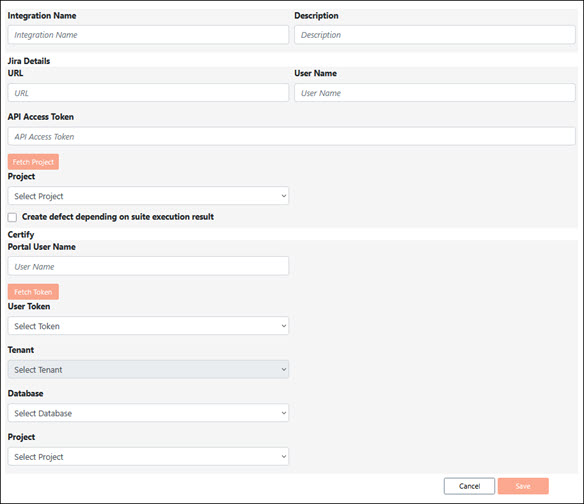
The Jira Integration page opens.
-
In the Integration Name field, enter a unique name for your integration.
-
(Optional) In the Description field, enter a description.
-
In the Jira Details section, enter your Jira URL in the Jira URL field.
Example: https://<your-domain-name>.atlassian.net/
-
In the User Name field, enter the Jira username.
-
In the API Access Token field, enter the API access token for Jira.
For more information, see Atlassian Support.
-
Click Fetch Project.
The Integration Gateway fetches projects in which the Jira username and API token have access permissions. The projects appear in the Project drop-down list.
-
From the Project drop-down list, select a project.
-
If you want Jira to create a defect when a CTM suite execution fails, select the Create defect depending on suite execution result option.
Defects are created for failed test cases in the suite, and these defects are linked to respective bugs in Jira.
-
In the Certify section, enter the Worksoft Portal username in the Portal User Name field.
-
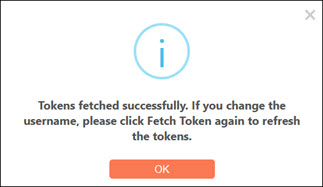
Click Fetch Token to get user tokens to populate the User Token drop-down list.
If you previously added the token in the Worksoft Portal, the system displays a message stating that it successfully retrieved the token(s).
-
Click OK.
-
From the User Token drop-down list, select a token.
In the Tenant drop-down list, the selected Worksoft Portal tenant is displayed by default. The tenant must have a Certify database associated with it.
- From the Database drop-down list, select a database registered in the tenant.
-
From the Project drop-down list, select the project associated with the specified user, tenant, and database.
-
Click Save.
The Jira integration appears in the list on the Integration Gateway page.
To edit the Jira connection:
If you need to edit the Jira connection, click the Edit  button next to the connection you want to edit.

To delete a Jira connection:
If you need to delete the Jira connection, click the Delete  button next to the connection you want to delete.