Configuring a Certify Results Exporter Database in Worksoft Portal
If you are using Certify Results Exporter, you need to register and configure the product in the Worksoft Portal. Certify Results Exporter leverages information from the Portal.
Registering the Certify Results Exporter
The first time an administrator signs in to Certify Results Exporter through the URL address, the Certify Results Exporter registers automatically in the Worksoft Portal.
From the Worksoft Portal menu, select Product Configuration > Certify Results Exporter to verify the registration.

If you sign in the first time with the localhost, it will register as the localhost which will cause problems. If this happens, click the Deregister button and sign in through the URL address and register Certify Results Exporter again.
To configure a Certify Results Exporter database:
-
From the Worksoft Portal menu, select Product Configuration > Certify Results Exporter.
The Certify Results Exporter Database Configuration screen opens.
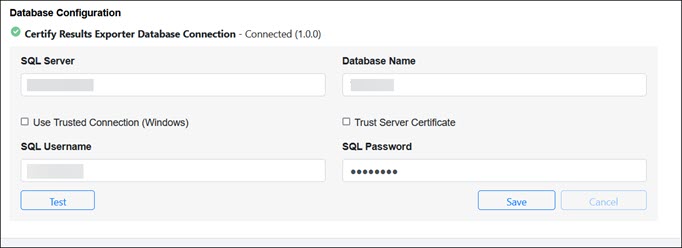
- In the Database Configuration section, enter the following information for your Certify Results Exporter database in the respective fields:
- SQL server
- Database name
- SQL user name
- SQL password
- If you want to use Windows Authentication instead of SQL Server Authentication, select the Use Trusted Connection (Windows) option.
-
To prevent database permission issues, select the Trust Server Certificate option.
- Click Test to test the connection.
-
Click Save.
The database connection is saved.
To configure a storage folder for Capture files:
You can configure a Certify Results Exporter storage folder to save Capture files. You have the option to export the Capture files to Process Intelligence or save them in a Certify Results Exporter folder.
-
Scroll down the Certify Results Exporter Database Configuration screen.
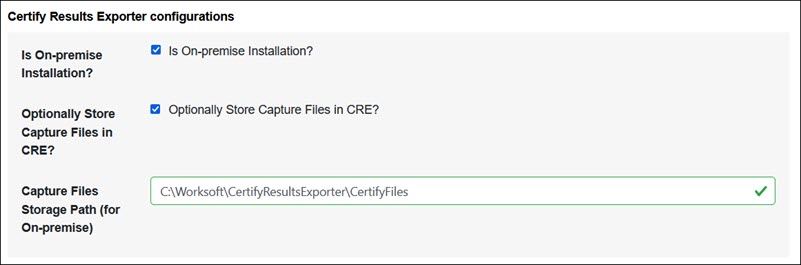
The Certify Results Exporter Configuration section appears.
-
If you are installing on-premise, select the Is On-premise Installation option.
-
If you want to store Capture files in the Certify Results Exporter, select the Optionally Store Capture Files in CRE option.
-
In the Capture Files Storage Path field, enter a folder path to where Capture files are saved.
The Certify Results Exporter configuration is complete.