Integrating Certify Impact with Micro Focus ALM/Quality Center
If you have integrated Micro Focus® ALM/Quality Center with Worksoft Certify, then you are able to integrate Quality Center with Certify Impact. By integrating Certify Impact with Quality Center, you will be able to identify which Quality Center manual tests should be executed as a result of a Certify Impact analysis.
You will need to provide connection information in order to connect to the Quality Center in the Certify Impact Execution tab.
Certify Impact supports integration with ALM/Quality Center v12.x.
To integrate Certify Impact with ALM/Quality Center:
-
Start creating a new Certify Impact analysis. For more information, see Creating a New Analysis.
-
After you view the SAP programs and transactions that do not have test coverage within the selected Certify processes in the Test Coverage Analysis tab, click Next.
The Quality Center Connection Details screen appears.

-
Specify the details for the instance of Quality Center in which you want to connect.
Field
Description
Instance URL
Complete URL address of the machine hosting the ALM/Quality Center, including the port number
Domain
ALM/Quality Center domain name
Project
ALM/Quality Center project name
User
ALM/Quality Center user name
Password
ALM/Quality Center password
-
Click Next.
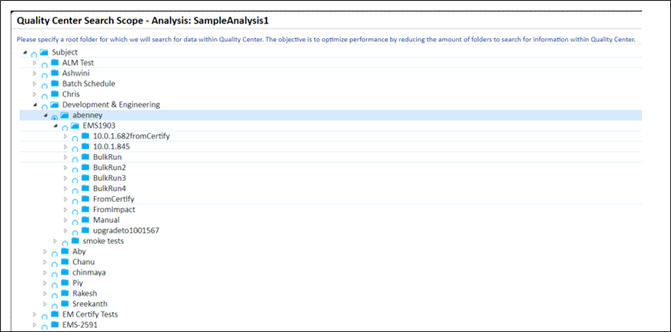
The Quality Center Search Scope screen appears with a tree of folders within the Quality Center Test Plan.
-
Select a root folder to search for Quality Center scripts to match the selected Certify processes.
By limiting the amount of Quality Center folders, you will optimize the performance and provide the appropriate mechanism to match Quality Center scripts to Certify processes.
-
Click Next.
The Quality Center Target Folders screen appears. This screen allows the user the opportunity to select a target folder within Test Plan for your scripts and a target folder within Test Lab for your Test Set.
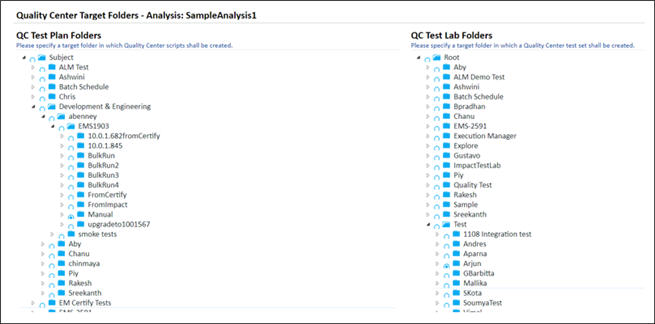
- In the QC Test Plan Folders tree, select a target folder where you want your Quality Center scripts created.
- In the QC Test Lab Folders tree, select a target folder where you want your Quality Center Test Set created.
-
Click Next.
The Quality Center Scripts/Certify Processes screen appears. In this screen, you will match Quality Center scripts to Certify processes.
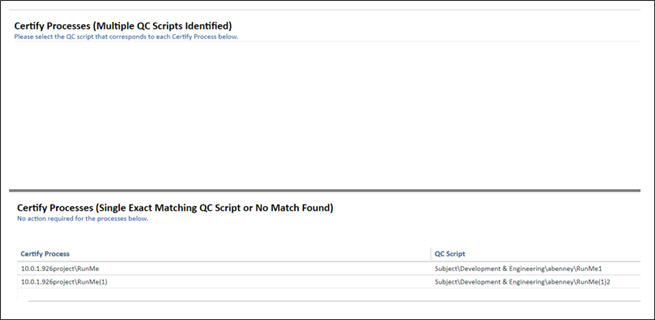
If no scripts are listed, then no scripts were found.
-
In the Certify Processes (Multiple QC Scripts Identified) section, select which scripts you want to match with each process within the tree.
The bottom of the screen displays Certify processes with a single script match or no script match. No action is required.
-
Click Next.
The Quality Center Script/Test Set screen appears. This screen displays a list of Certify processes and Quality Center scripts mapped to them.
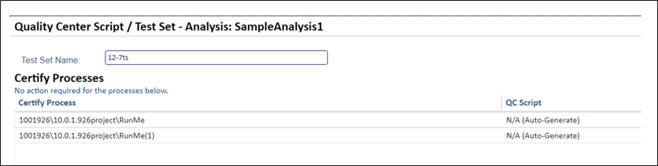
- In the Test Set Name field, type in a name for your Test Set.
-
Click Save to create your Test Set.
A message appears confirming that your execution details have been saved.
-
Click OK.
Your Certify processes are now integrated with selected Quality Center scripts. You will be able to view the tests inside your saved test set in the Test Lab of the ALM/Quality Center.